Understanding the Unimig Viper Series
Introduction to the Unimig Viper
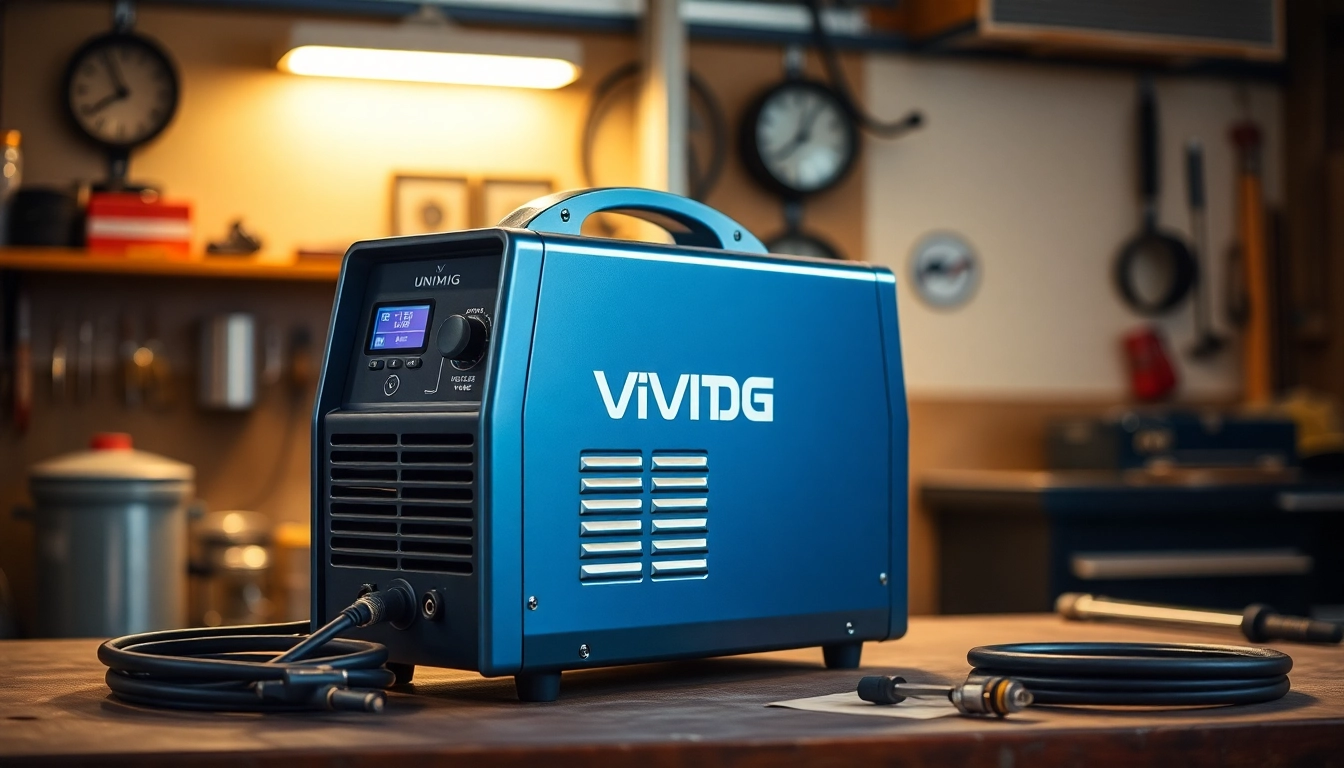
The unimig viper series represents a significant advancement in welding technology, catering to both amateurs and professionals. Known for its versatility, performance, and user-friendly design, the Viper line caters to various welding needs—MIG, TIG, and stick welding—making it a multifaceted tool for metalworking enthusiasts and professionals alike. Manufactured by UNIMIG, an Australian brand renowned for its commitment to quality and innovation, the Viper series is designed with both functionality and durability in mind.
Core Features of Unimig Viper Models
Every model within the Unimig Viper series shares a core set of features that enhance practicality and ease of use. Here are some of the standout characteristics:
- Multiple Welding Processes: The Viper models allow for MIG, TIG, and stick welding, giving users the flexibility to tackle different types of welding projects effortlessly.
- Synergic Control: This feature automatically adjusts the welding parameters based on the selected wire diameter and type, which simplifies the welding process for beginners and provides control for experienced users.
- Robust Design: Built to withstand tough working environments, the Viper machines feature protective casings and user-friendly interfaces.
- Lightweight and Portable: Most models in the Viper line are designed to be easily portable, making them ideal for outdoor jobs and on-site tasks.
Comparing Unimig Viper to Competitors
When placed alongside other leading brands, such as Miller, Lincoln Electric, and ESAB, the Unimig Viper series holds its ground due to its unique combination of affordability, versatility, and high-quality performance. While brands like Miller and Lincoln have high-end models with premium pricing, the Unimig Viper provides similar functionalities at a more approachable price point, making it an attractive choice for both DIY enthusiasts and seasoned welders.
Key Benefits of the Unimig Viper
Versatility in Welding Techniques
One of the main advantages of the Unimig Viper series is its versatility. The ability to switch between MIG, TIG, and stick welding allows users to choose the most effective method for their specific task. Whether you’re working with steel, aluminum, or other metals, the Viper series can handle it all, making it a comprehensive tool for various applications such as automotive repairs, metal fabrication, and home improvement projects. Furthermore, the Viper is compatible with both gas-shielded and gasless wires, enhancing its usability in different environments.
Performance and Efficiency Metrics
Performance is a key focus for any welding device, and the Unimig Viper certainly does not disappoint. With models delivering power outputs ranging from 120A to 185A, depending on the unit, the Viper series provides ample strength for most tasks. Its maximum duty cycle—often around 60% at power settings—ensures prolonged use without overheating. This makes the Viper particularly suitable for both light and heavy-duty jobs. Reviews from users indicate a high satisfaction rate with the welding results, citing clean and strong welds as a hallmark of the Viper’s top-tier performance.
User Reviews and Feedback
User feedback plays a significant role in assessing a product’s reliability and effectiveness. Many reviews highlight the Unimig Viper’s ease of use, particularly for beginners, thanks to the intuitive control features and the synergic settings that eliminate the guesswork. Users have expressed appreciation for the lightweight construction that enhances portability, allowing them to transport the welder to jobsites without hassle. Overall, the Viper series has garnered positive reviews not just for its features, but also for its value, with many considering it a worthy investment for long-term use.
Choosing the Right Unimig Viper Model
Model Overview: Viper 120 vs. Viper 185
The Unimig Viper series includes several models, with the Viper 120 and Viper 185 being among the most popular. The Viper 120 is designed for entry-level users, offering simplified controls and lower power output of up to 120A, making it suitable for light welding tasks such as thin materials and minor repairs. In contrast, the Viper 185 is aimed at more experienced users who require higher output and better performance under heavy workloads. The 185 model delivers up to 185A, making it a better fit for medium to heavy-duty projects. It is essential to assess the specific needs of the user and the projects they intend to undertake when selecting between these models.
Considerations for DIY vs. Professional Use
For DIY enthusiasts, the choice between the Unimig Viper models often boils down to the type of projects they aim to complete. For hobbyists engaged in smaller, occasional projects, the Viper 120 offers sufficient power and ease of use without overwhelming complexity. However, professionals who frequently engage in heavier, more intricate welding tasks would benefit from the enhanced capabilities and efficiency of the Viper 185, which can handle more demanding applications without sacrificing output quality.
Budget Implications and Investment Value
It’s vital to consider the investment value of any welding machine. The Viper series is competitively priced compared to other brands on the market, providing excellent features and reliability without breaking the bank. Selecting a welder is not merely about initial purchase costs; considering the long-term benefits and potential for growth in proficiency can heavily influence the overall value. Investing in a model like the Viper 185 might initially seem higher in cost, but if it translates to superior performance and longevity, it is ultimately a more cost-effective choice over time.
Setting Up and Using the Unimig Viper
Unboxing and Initial Setup Steps
Unboxing your Unimig Viper welding machine is often as exciting as using it. Upon opening the box, users will typically find the welder itself, a user manual, and various accessories, including welding cables and safety gear. Follow these steps for a seamless setup:
- Locate all components and ensure nothing is missing according to the manual.
- Install the welding wire, choosing between gas-shielded or gasless wire as per your project requirements.
- Connect the gas supply if required, ensuring all hoses are secure to avoid leaks.
- Set up the earth clamp securely to the workpiece to ensure a good ground.
- Adjust the settings according to the material thickness and type to prepare for welding.
Operating Tips for Optimal Performance
To get the best performance out of your Unimig Viper, consider these operating tips:
- Keep Your Workspace Clean: A tidy workspace allows for better maneuverability and less chance of accidents.
- Regularly Check Connections: Ensure that cables and hoses are properly connected and free from damage before starting your welding tasks.
- Practice Welding Techniques: For beginners, take time to experiment with different settings and practices on scrap materials before beginning actual projects.
- Monitor Heat Levels: Excessive heat can alter the properties of materials and lead to weld defects, so keep an eye on your work temperature.
Safety Precautions While Welding
Safety should always be a priority while welding. Here are crucial safety precautions to follow:
- Always wear appropriate PPE such as gloves, helmets with proper visors, and flame-resistant clothing.
- Ensure the workspace is well-ventilated to minimize fumes inhalation and reduce the risk of fire.
- Keep flammable materials away from the welding area.
- Be mindful of your surroundings and ensure no one is within a dangerous distance during operation.
Common Issues and Troubleshooting for Unimig Viper
Typical Problems Users Encounter
While the Unimig Viper series is designed to be user-friendly, it is not without its issues. Common problems users report include:
- Inconsistent Arc Stability: Often caused by incorrect settings or using the wrong type of wire.
- Difficulty Feeding the Wire: This may occur due to tangles or blockages in the wire feed mechanism.
- Overheating: Continuous use beyond the duty cycle can lead to overheating, resulting in potential machine failure.
- Welding Spatter: Caused by improper settings or inadequate technique, leading to excessive cleanup time.
Effective Troubleshooting Techniques
When faced with problems, here are effective troubleshooting methods:
- For arc stability issues, check the settings of the welder, making necessary adjustments based on the material and wire used.
- If wire feeding is problematic, inspect the spool for tangles, ensuring a smooth line to the welder.
- To combat overheating, monitor use; rest the unit after hitting the duty cycle limits to allow for cooling.
- Address spatter by adjusting the voltage and wire feed settings, and improve your technique by practicing on scrap materials.
When to Seek Professional Help
Sometimes, the issues may require professional intervention. Here’s when to consider contacting an authorized repair service:
- If there are persistent electrical issues that can’t be traced to user error or settings.
- In cases of mechanical failure that may jeopardize the machine’s functionality.
- When safety features are compromised, leading to potential hazards during operation.